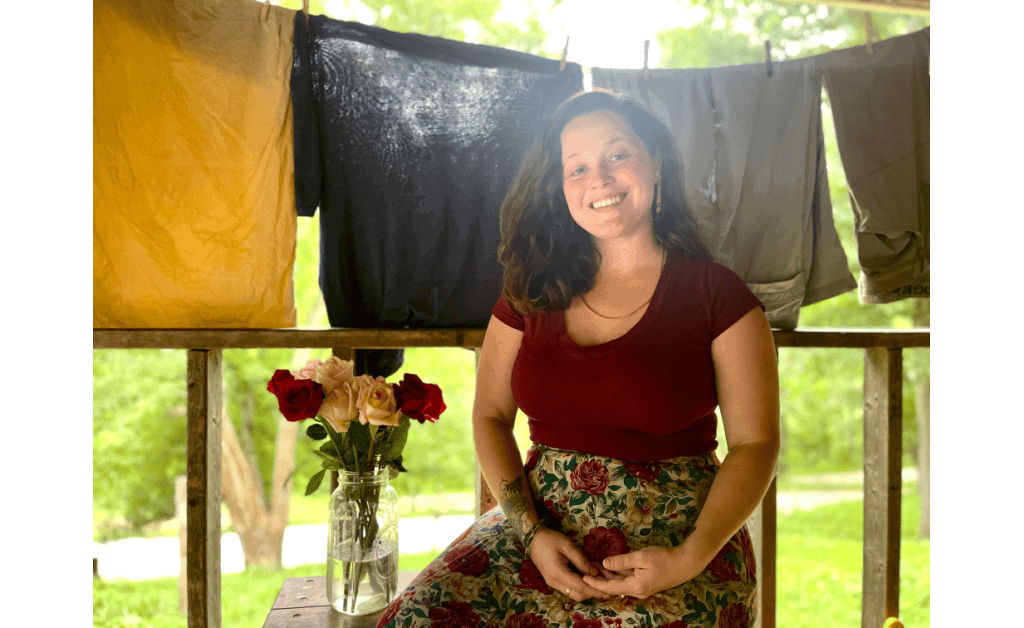
Readers' FavoritesHarvest Luffa Sponges: How to and When to HarvestNovember 26, 2018Harvest Luffa Sponges: How to and When to Harvest I told you all I’d check when about harvesting when I wrote about Growing Luffa Sponges a while back. I’ve begun to harvest my luffa sponges and it’s been a bit of a confusing endeavor. I read so many “How-To” articles and felt they were pretty misleading in ways. I’m going to explain to you what I’ve learned about harvesting luffa sponges and how I did it; what worked for me and what did not. External Color You can’t go by color alone when it comes to harvesting your luffa sponges and that is slightly aggravating. You’ll read to only pick your luffas when they’re brown and dried on the vine. You’ll also read to only pick them when they’re still yellow/green. In my experience, you do not want them dried up and hard hanging on the vine. This means your luffa sponge is more likely to already be molding. Instead, look for luffa gourds that are turning from green to yellow, making their way to a brown luffa. Texture when Harvesting Luffa Sponges Harvest your luffa sponges before they have completely dried out, with a slight “give” when you squeeze it. If the gourd feels pretty soft, leave it a day and check again tomorrow. Pick the luffa if your luffa sponge feels like it’d be pretty hard if you waited a day! The browner your gourds get the harder they will get. I read this was the perfect time to pick them. As mentioned before, this method always meant more mold in my sub-tropical climate. The confusing part comes when I tell you the very first luffa sponge I ever harvested was rock hard. It sounded like a maraca when I shook it from the seeds; this luffa revealed no mold when peeled! For the rest of the luffas I waited to peel, this HAS NOT been the case. Molded luffa sponges that completely dried on the vine. Internal Color and Peeling After harvesting your luffas sponges using a pair of pruners, you’re ready to peel them! First, you’ll want to hit the gourd on a hard surface a few times to loosen the seeds. Next, cut the bottom end of the luffa sponge off. To be clear, this is the end that was not attached to the vine. If your gourd is extremely dry and sounds like a rattle, the seeds will probably fall out quite easily. My luffa sponges needed to be harvested a little sooner than that so it was a little more difficult to get the seeds out when peeling them immediately. Grab some scissors, cut down the inside of the luffa flesh and peel the skin all the way off! When harvesting your luffa sponges they’ll be much harder to peel if you wait until they’re completely dried on the vine. This is what the skin from a very dry luffa sponge looks like. This is the internal skin of a luffa perfectly ready for harvest. Still with some moisture and easy to peel! Completing Harvest and Preparing for Use of Your Luffa Sponges After you’ve removed all of your seeds and peeled your luffa sponge rinse all the sap off the sponge itself. The easiest way to do this is to get a garden house with a sprayer and use the “pressure wash” setting, or something close to it. You’re looking for a straight stream of water that comes out with high pressure. Spray your sponge up and down until the slimy feeling has gone away. There’s no reason to be super persnickety doing this because you’re going to use your sponge in the water later anyway but just get as much out as you can. You’re also removing any extra dirt or plant particles while spraying the gourd. After your dry your luffa sponge you’ve successfully harvested your luffa sponges! I laid out a couple of towels on my kitchen counter, put my luffas on top of them and patted them down with another towel. Over a day or two, rotate your sponges and pat/squeeze them dry (be gentle). Once they’re completely dry, they’re ready to use! Have you grown and harvested luffa sponges before? How did it go and what was your method? What’ve you used your luffas for? It’s so interesting how the processes change in with each different climate, I’d love to hear about your experience in the comments below! Read the post that inspired me to grow luffa sponges, to begin with, called “The Ultimate Guide to Successfully Growing Luffa Sponges“! Although luffas are summer crops, it’s never a bad time to learn how to “Prepare Your Homestead for the Spring Season“!... Read more...Growing Luffa Sponges: What To Do and What Not To DoSeptember 20, 2018Growing Luffa Sponges: What To Do and What Not To Do I don’t know what I used to think a luffa sponge was or what growing luffa sponges would entail. I guess I thought it came from the ocean, but never did I ponder the idea of it growing in my own yard on a vine! Did you know you can eat them while they’re young? I won’t be doing that with my luffa, but instead, I’ll be hanging them to dry to use as sponges. Here’s my journey through growing luffas. Where to Get Seeds When Growing Luffa Sponges I found out that luffas grow on vines because I was on another bloggers website, whom I now forget, and she was writing about how challenging it was growing luffa sponges. Well, I was open for a good challenge so I bought some seeds. I remembered reading the luffa seeds would take a very long time to germinate, but mine only took tops two weeks! I got them from Baker Creek Heirloom Seeds and really do recommend them as a seed company. I’ve been buying all my seeds from them now and I’m so pleased with the outcome. Once I bought these seeds, put them in the ground and they popped up almost immediately. No soaking or chilling required! Soil and Location for Growing Luffa Sponges I read that while growing luffa sponges, you should use rich, well-draining soil so that’s what I put them in. We have sandy soil here in West Central Florida so I was sure to mix in some quality, home-made compost! With the well-draining characteristic of the sand and the rich humus and nutrients from the compost, it ended up being the perfect combination of sand: soil. As for location, your vines need somewhere that has lots of sun exposure! My luffa vines get sun all day long and they love it. You want to trellis your luffa so the 1-2 foot (Yes, you read that right!) gourds don’t rest on the ground to potentially rot. I set mine up by a fence and they took off and took over! Here’s a picture of how they started out. (This picture was taken June 27, 2018, and the seeds were planted May 17, 2018!): Water I live in Florida so we get a fair amount of water from the rain. Actually, I’ve probably my hose on a total of 10-15 times since May! Needless to say, our electric bill has been pleasantly low all summer because we haven’t had to use our well quite as much. Thanks, Mother Nature! On the dry days, I give the base of the vines with all my luffa sponges a nice soak so I can maintain a consistent schedule for growing. I’ve also mulched them since the rain is slowing down a tad bit here in September. My luffas are thriving! If your luffa seeds get waterlogged, they won’t survive. So if your yard puddles after rains, then you can do yours in pots! Just make sure to have a good, strong trellis for them. By August 3, 2018, my vines looked like this: This looks all fine and dandy but I read that vines can grow up to 30 feet! When I first started growing my luffa sponges I didn’t really believe it at first but I was soon proven wrong. Don’t worry, I’ll show you a picture! Needless to say, the twine I strung between the posts for the trellis was soon weighed down by luscious leaves and thick stems. Next year I’ll construct something out of wood and wire. Growing Season Luffas love hot weather. I read they can take around 4-5 months to reach maturity so I’m nearing that date now. Planted in mid-May, I’m at the four-month mark! I read that someone who was growing luffa sponges claimed they planted in June and were harvesting by the end of July but I’m not sure how that’s possible. Maybe he lived in an extremely hot location! If you live in a cooler location with a shorter growing season, your luffa will take longer to mature. I got my first bloom August 13, 2018, and boy was it pretty. Soon after I got my first bloom, I noticed my first gourd. The gourd is high up in a nearby lemon tree. I mentioned earlier I’d show you a picture that proves the vines can reach as long as 30 feet, and I’m sure more if allowed. Below you’ll see my first flower, my first gourd, and how intense the luffa vine took over. I’ll add a picture of all the beautiful bumble bees were invited to my yard by the blooms. I love them and they love the luffa flowers so I’m totally okay with the bee party that takes place every day all day. I’ll really miss them when they go, but look forward to them next year. If bees aren’t your thing, don’t plant luffas or plant them somewhere that you don’t have to pass by so often. Harvesting and Drying This is a step I’ll be taking soon. I’ve seen a few different folks advise a few different ways to determine when the luffa are ready to harvest. Some say to wait until they turn brown and the skin dries and others say to harvest and peel them once the skin feels “loose”. Apparently, if you wait until the skin is brown they’re much harder to peel. It’s pretty confusing but I have so many luffas on the vine that I’m going to try one and see how it goes. Once I noticed my first luffa, they started popping up all over the place! I have at least 10 large gourds right now and I notice new smaller once every day. As far as drying goes, after I peel my luffa gourd, I’ll lay them on a screen and set them in the sun every day for a couple weeks. I think I’ll make a YouTube video of this and will be sure to put up another post for the folks interested. I hope to dye some of the sponges with natural vegetable dyes, too! If you’re thinking about growing luffa sponges, I say YES, definitely do it. Also, these would make a GREAT Christmas gift! So to summarize: DO: Plant your luffa seeds in a well-draining, sunny area.Construct a strong trellis to support your vines all seasons.Admire all the bumble bees you’ll attract.BE PATIENT! Once you see that first bloom and gourd, it’ll take off from thereBuy your seeds from Baker Creek Heirloom Seeds. (No, I am not an affiliate, I just really love them!)Tell me if you’re growing luffa grouds so we can chat about it!Send me pictures of your vines!Read my post about how to harvest luffa sponges called Harvest Luffa Sponges: How to and When to Harvest! DON’T: Harvest them too early.Shade them because the flowers close, this is normal.If you’re scared of bees, plant them near the house.Plant them on a fence that is already falling apart… I guess I’ll finally be fixing the fence after the season is done!Overwater them. Remember, waterlogged seeds means so germination!... Read more...The Best Garden Planner You’ll Ever Find (And why I love it!)August 9, 2018The Best Garden Planner You’ll Ever Find I’m going to tell you a little about how this really is the best garden planner ever, so stick with me, y’all. I took my own advice from my last published post, “Taking a Break: Homestead Edition“, and took a mental break last week from blogging. It’s a blogger no-no to do that but I did it anyway because, well, I needed it. I can not believe it is already August! Here in Central Florida, that means that we should be putting our second round of hot weather crops in the ground and planning for our cool weather crops to go in, as well. Last winter was unusual for us as we had three hard freezes in a row. The Green Acre Homestead lost an established Meyer’s Lemon Tree and our Key Lime Tree and I was devastated! I’ll admit that winter-proofing the garden is all a little new to me since I’ve only farmed in the Florida winters for three years. Not to mention, it’s been drastically different every year, making it much harder to prepare for! But I’m here today to tell you about how I plan my gardens year round and why I love my garden planner! Do you have to have a garden planning program? No, you don’t need it. I’m still relatively new to gardening on a large scale and I’m just now getting the hang of my zone’s weather format. So, for me, a garden planner was something I really wanted and almost needed. I looked around for a while, thinking I would maybe make my own. The problem was there was so much information I needed at hand: companion gardening, a way to keep track of where I planted what as to rotate my crops, seasons for the crop because I often had no idea, etc. I would say that anyone new to gardening should find a planning software they love and use it to start. You won’t regret the decision. Is planning a garden hard? Yes…and no. Don’t you love that type of answer? If you’re planning your garden with no large intention such as preserving your harvest to have year around, I think that gardening is much more simple and can be done without a planner. I find that planning a garden becomes a little more difficult when you have the intentions to preserve that harvest to fuel you and your family year round. You want to plant short-season crops together so that when they’re done, you can pull them up and replant something new in their spot. This way you maximize your gardening and growing ability. You want to make sure you have enough of the crop to eat and also preserve. Companion planting and rotating your crops can come in handy when you’re gardening with intentions outside of (but not to exclude) gardening just for fun. How do I keep my gardening hat on straight? The answer is The Old Farmer’s Almanac Garden Planner, a.k.a the best garden planner around! I want to start off by saying that I am not an affiliate for this program so, if you utilize these links, it is of no benefit to me. I just personally love this program and feel it could be a wonderful tool for many gardeners and planners out there! Top 5 reasons I love this program (besides only being $29 a year!): 1.I can have multiple garden plans going at one time. Now THAT is the best! I have three spots where my gardens are (which I don’t particularly recommend): front, middle, and front yard gardens. My front gardens hold my perennials, like my asparagus. The middle gardens grow my seasonal vegetables and the ‘front yard’ gardens hold all of my vining vegetables and fruits. My planner looks like this: 2.They have a companion planting future that makes my life so much easier! No more hopping back and forth from page to page on Google trying to figure out what plant is best paired with my broccoli. Here’s an example below. The crop I selected is broccoli. 3.Once you plan your crops, you can specify how long they’re in the ground for right in the planner, that’s why it’s the best. So if I plan to plant my broccoli in November and pull it up in January, I can record that crop specific detail. You can view your gardens by month. If I choose “October”, I won’t see the broccoli as a crop. I view any month from November to January, it’ll show my broccoli will be in the ground during those months. (#best garden planner) 4. Once you finish planning your best gardens ever, they have a “Plant List” feature that tells you what you’re planting, how many of that specific crop you’re planting, and when to sow indoors, outdoors and harvest. It looks like this: 5.Finally, I love that they make crop rotation so much easier! While planning for next season, if you select “Broccoli” again, it’ll show you where you should not be planting broccoli! You’ll see I’ve selected a little broccoli plant is where the beds are red is where I will not be planting it. Are there other awesome features in the best garden planner EVER? There sure are!: You can specify which variety you’re growing.You can click the “Info” button on a crop and it’ll tell you all about that crop: Rotation group, preferred soil type, position (sun or shade), if it’s frost tolerant, perennial or not, feeding schedule, companions, spacing, when to sow and plant, notes, harvesting, and troubleshooting. It’s all right there for you in one spot at the click of a button in the best garden planner there ever will be.While looking for crops within the program, you can either search through “All Plants” or you can choose to just view something specific: vegetables, herbs, fruit & nuts, flowers, cover crops, garden objects, layout, irrigation, structures, companions for plants, or even a custom filter!As I mentioned above, you can also add structures and garden objects. In my pictures, you’ll see I’ve planned my irrigation and my beds in the software. So not only can you plan the crops for your gardens, you can plan the actual layouts! Finally, although small, I love that the program automatically and periodically saves your works as your working. The Old Farmer’s Almanac Garden Planner also has a wonderful print option, which I use to bring my layout outside while I’m planting to make sure everything is going into the right spot! Let’s sum it up and get to planning! I’ve always loved to garden but once I found this planner, it took a word of worry off my shoulders and let me take steps to planting my best gardens! I’m a planner and I was trying to draw everything by hand in the beginning, it just was not sustainable. Every season I plan and print my layout and save it in my Homestead Planner. My gardening game has really been kicked up a notch and it’s all the thanks to this planner. Do you use a garden planner? How do you keep your gardening hat on straight? If you use The Old Farmer’s Almanac Garden Planner, I’d to hear about your experience! **You can find this post, and many other great posts, over at the Homestead Blog Hop. Be sure to check it out!** Relevant Articles: 3 Cheap Types of Weed Cloth to Use on Your Homestead Hoop Frames on Garden Beds and Why We Use ThemGifts for the Gardener: Happy Homesteading Holidays... Read more... The Latest from the BlogLuffa Sponge Uses after Growing and Harvesting Your GourdsFebruary 11, 2019 Read more...How to Live More Intentionally Starting Right Now Wherever You AreFebruary 4, 2019 Read more...Decluttering Your Life Starting with These 22 Things FirstJanuary 14, 2019 Read more...Best Farm Animals for Beginners Who Want to Raise LivestockJanuary 28, 2019 Read more...